in Japanese
UNISDISK - A DISK II / SmartPort Emulator for Apple II Series -
 | 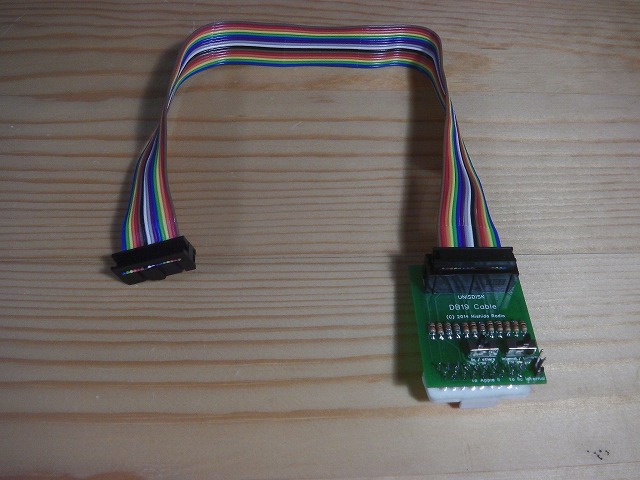 | 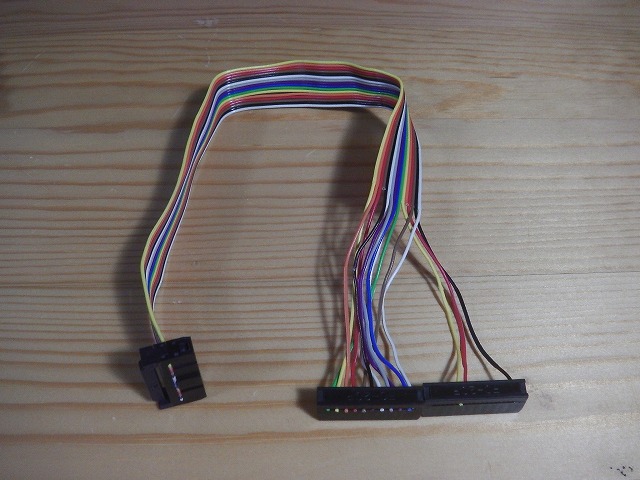 |
| UNISDISK unit | DB19 Cable | 20 pin Cable |
Order page.
NEW
Now you can use a UNISDISK with a Toshiba FlashAir, an SD card with WiFi.
See UNISDISK with FlashAir for details.
Dear UNISDISK Users
Please update the firmware.
Firmware Update is here.
Introduction
UNISDISK is a DISK II / SmartPort drive emulator for Apple II series.
- In DISK II mode, it emulates two DISK II drives.
- In SmartPort mode, it emulates four generic removable SmartPort drives.
UNISDISK will be able to used with any Apple II. With an Apple II / II Plus / IIe with a DISK II interface card, you can only use DISK II mode. With an Apple IIc Plus / GS, you can use both modes. With an Apple IIc, you will only be able to use a drive 2 in DISK II mode. But there is a cable to connect a DB19 Cable with the internal drive connector of an Apple IIc to use a drive 1. I've not tested SmartPort mode with a IIc.
Usage
- Format an SD card with FAT16 (FAT on an Windows machine) or FAT32 format on a PC. About the allocation size, the larger, the faster access operation but the more space unused. Current SD cards have enough capacity, so make the allocation size larger.
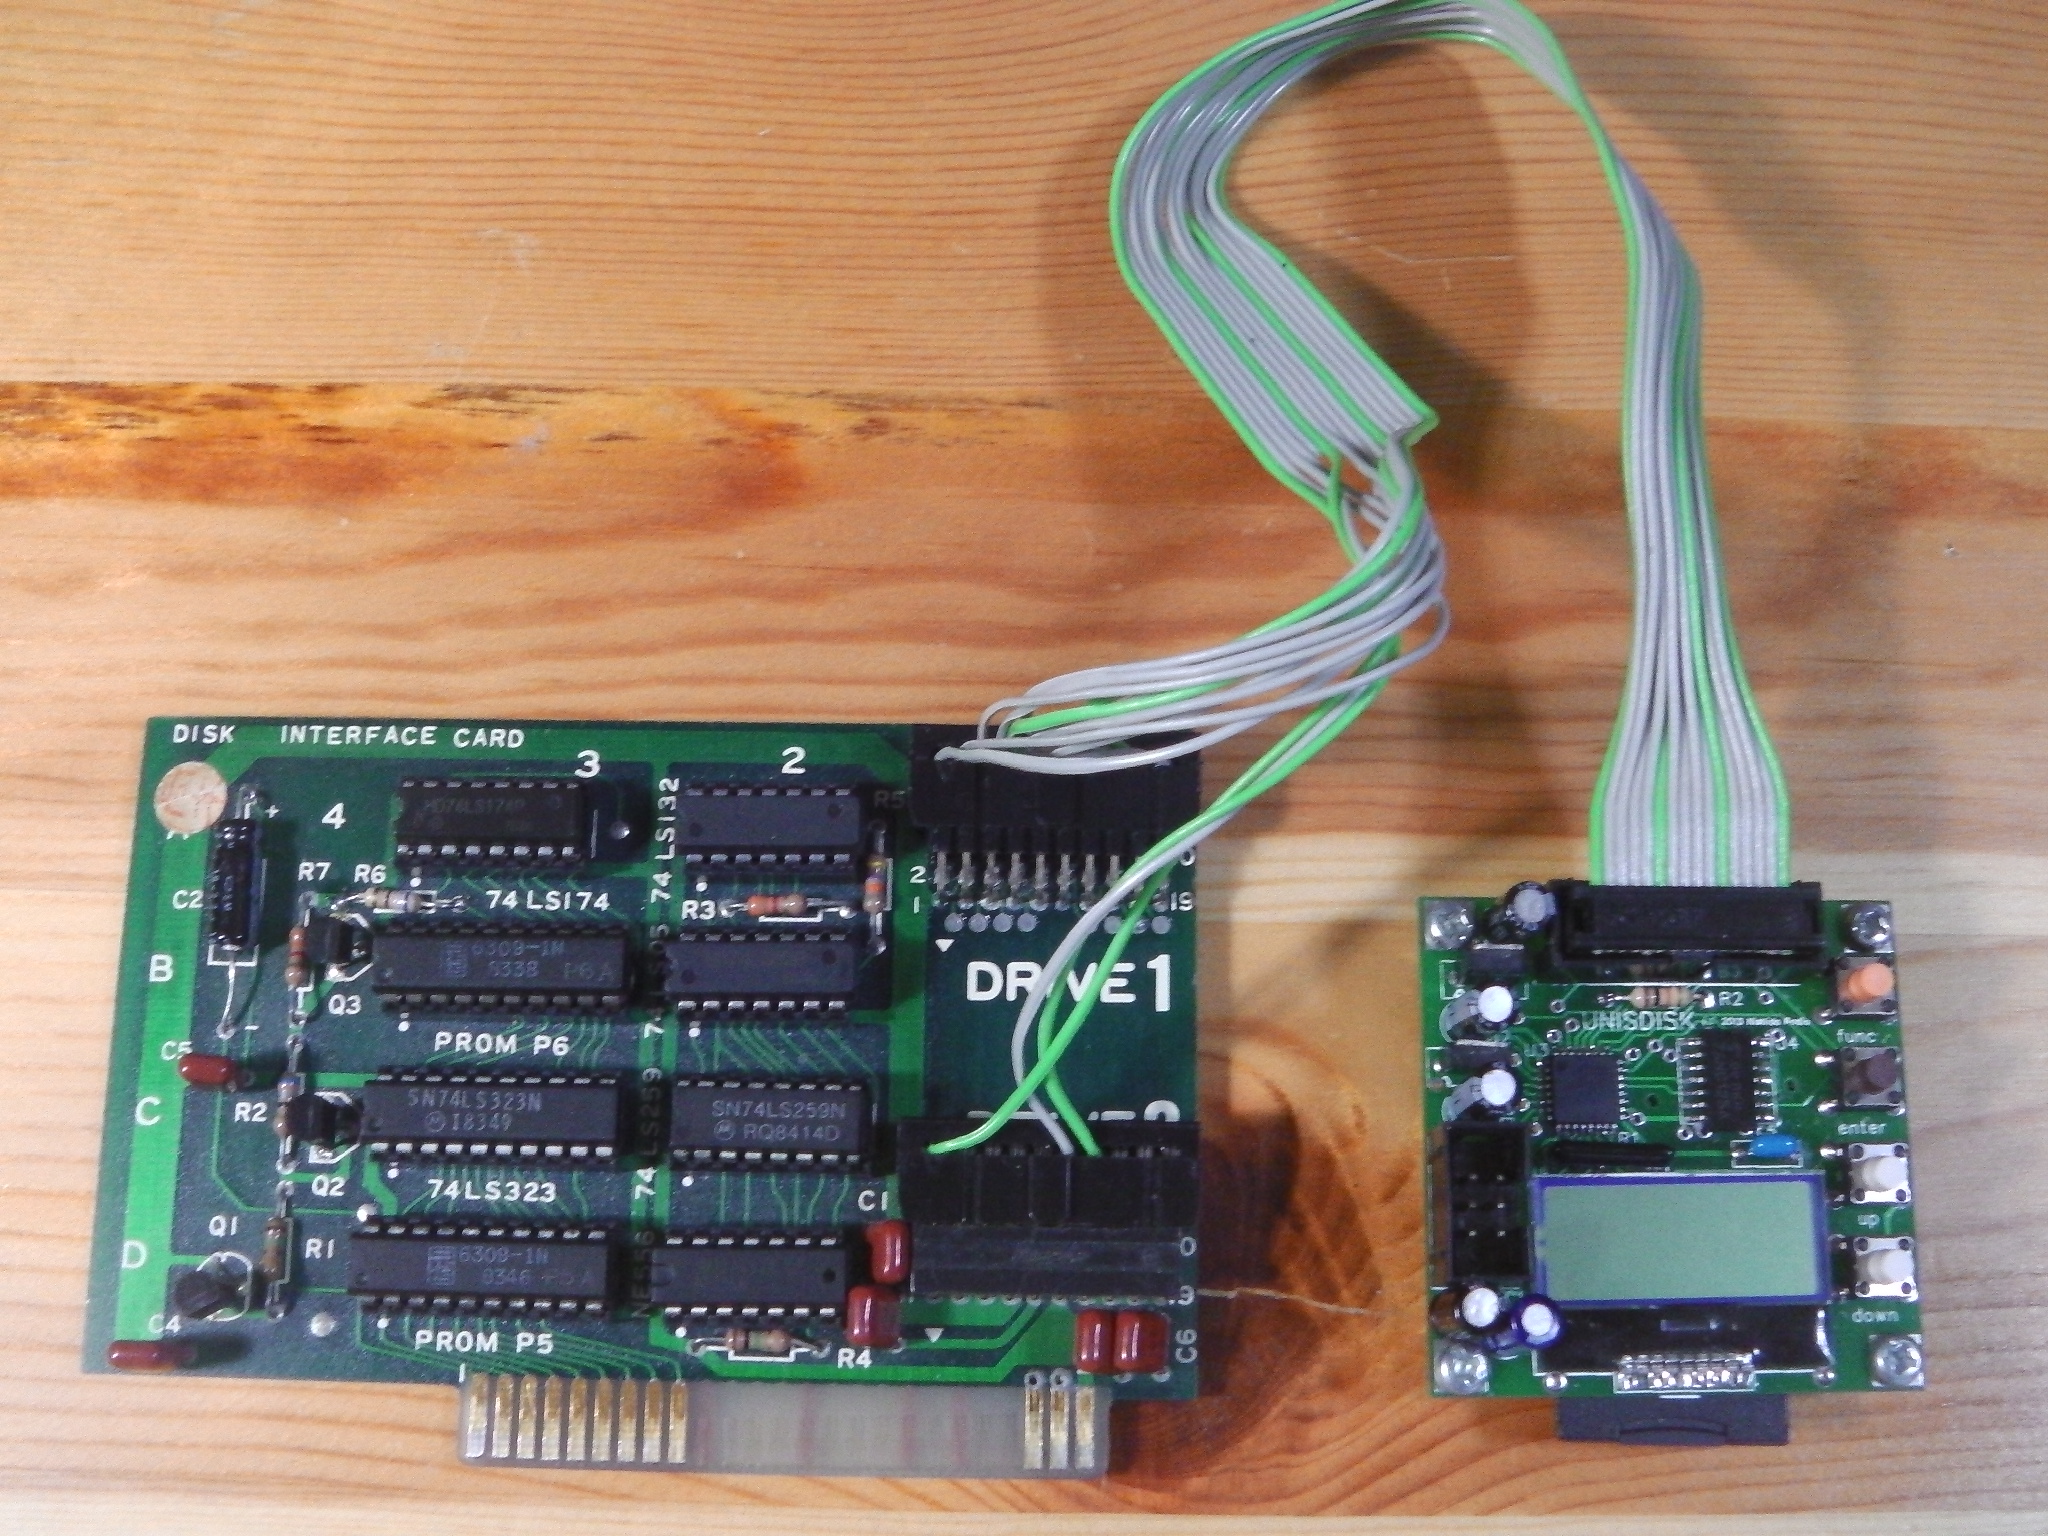
- Connect a UNISDISK with an Apple IIc / GS or a DISK II interface card on an Apple II / II Plus / IIe with a cable. If your disk interface card has two 20 pin connectors, use a 20 pin cable and the 20 pin connector that has fewer lines is for drive 2.
-
Be careful with wrong connection.
- Shift both switches on the DB19 Cable toward the right. These switches are used when you connect a UNISDISK with an internal drive connector of an Apple IIc (non Puls).

DISK II mode
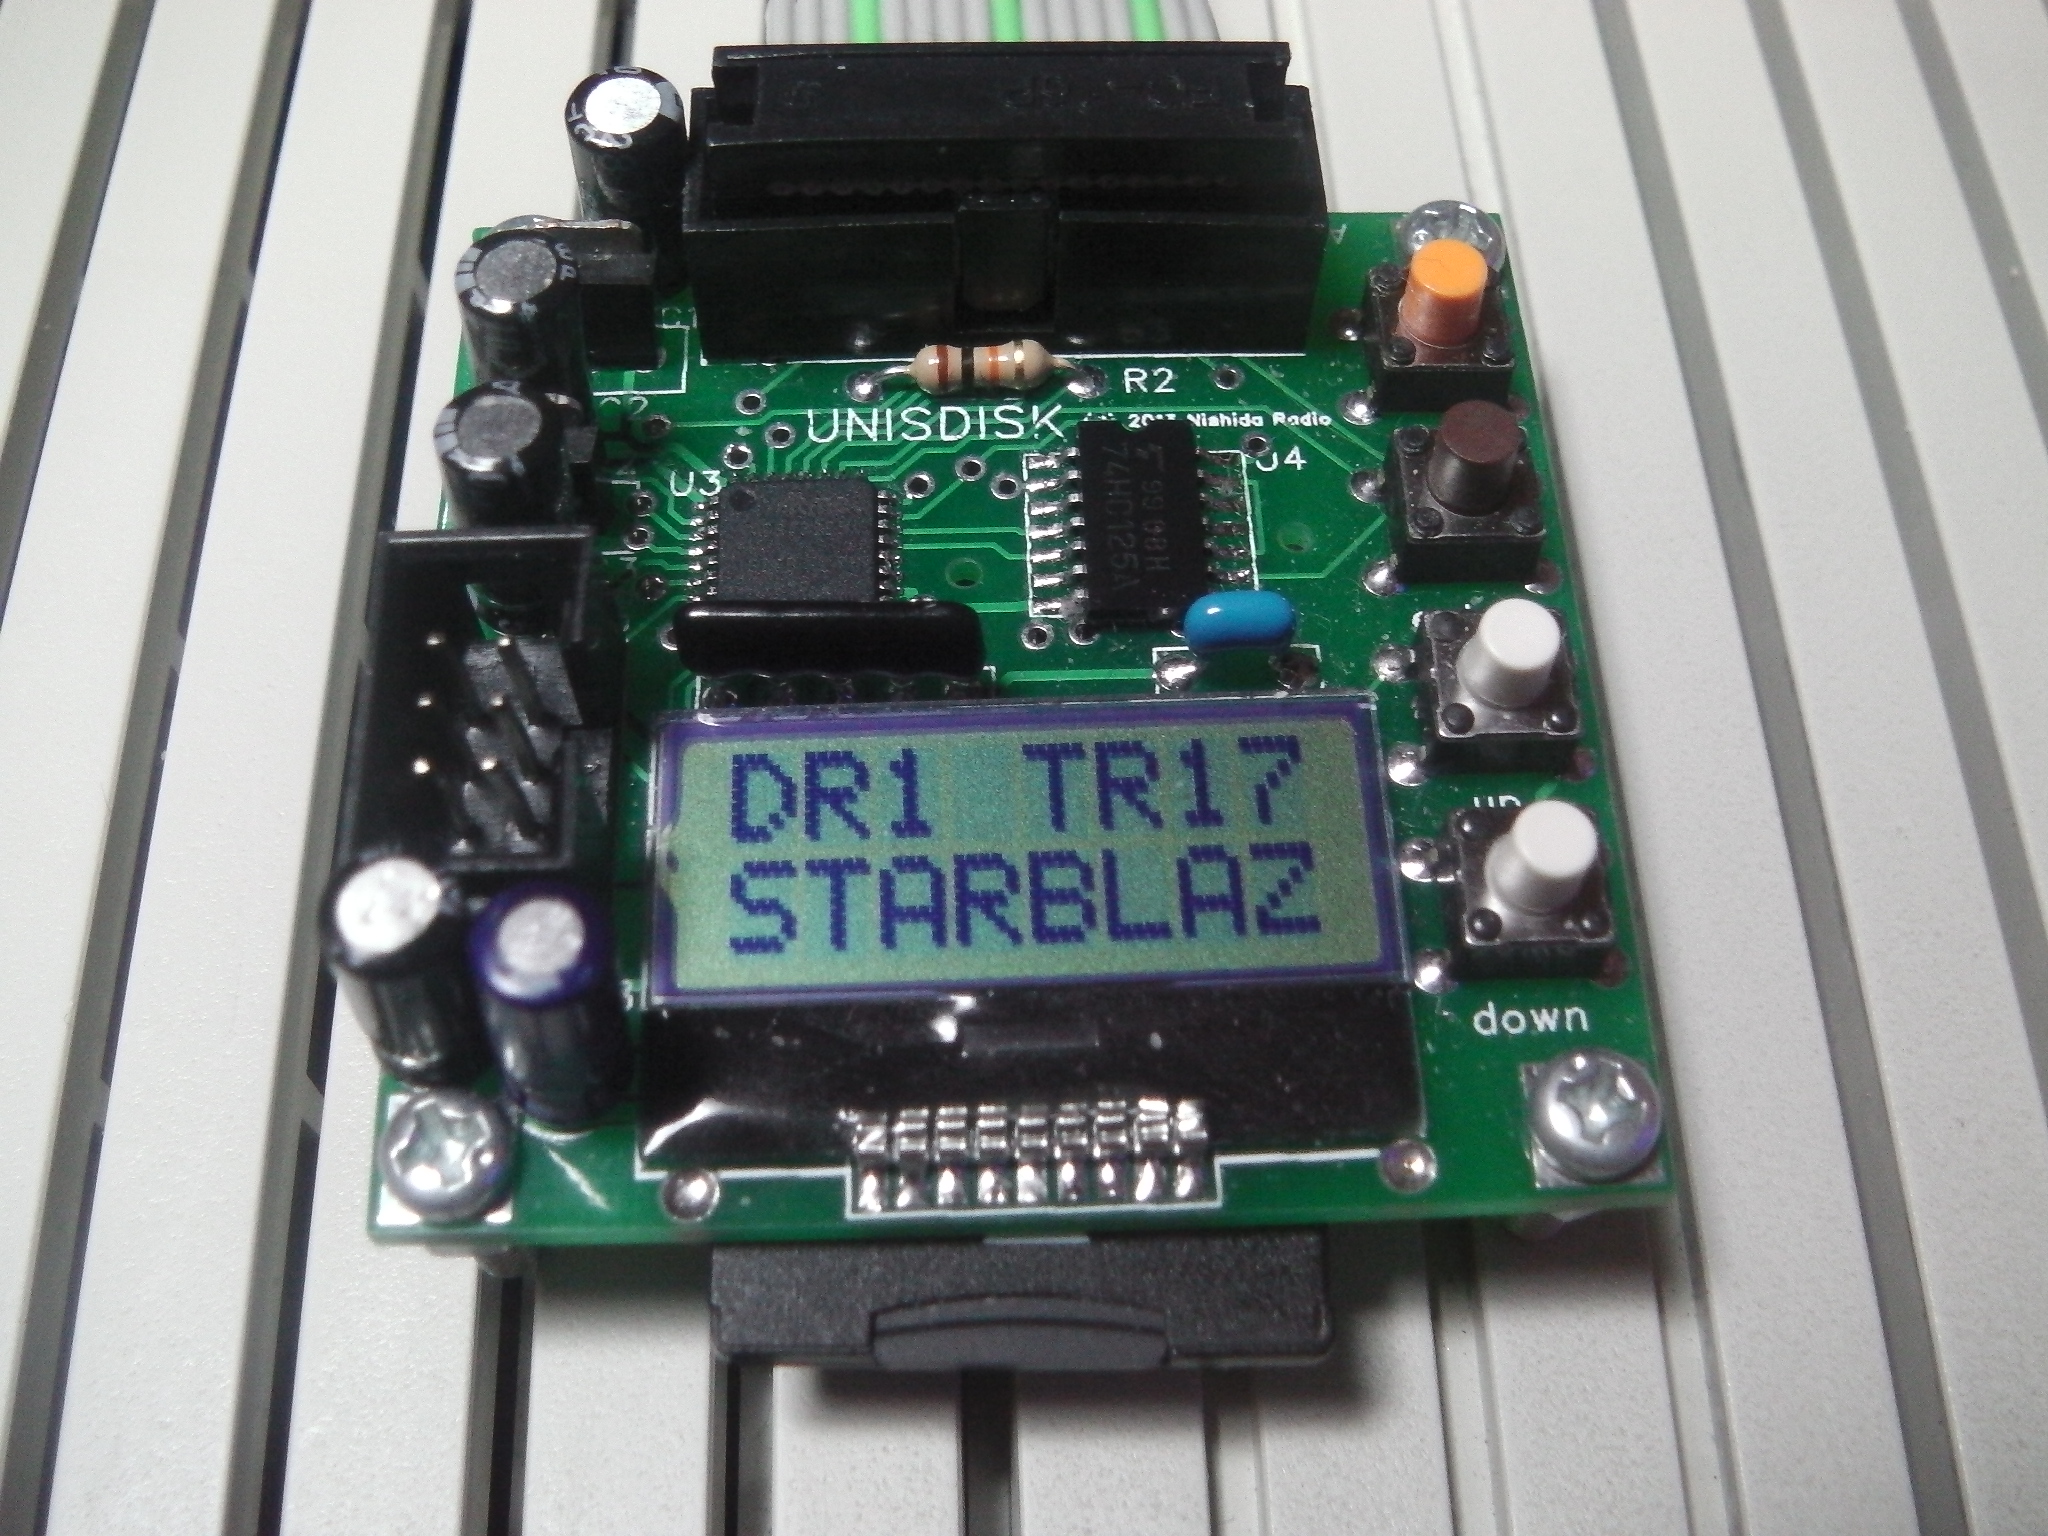
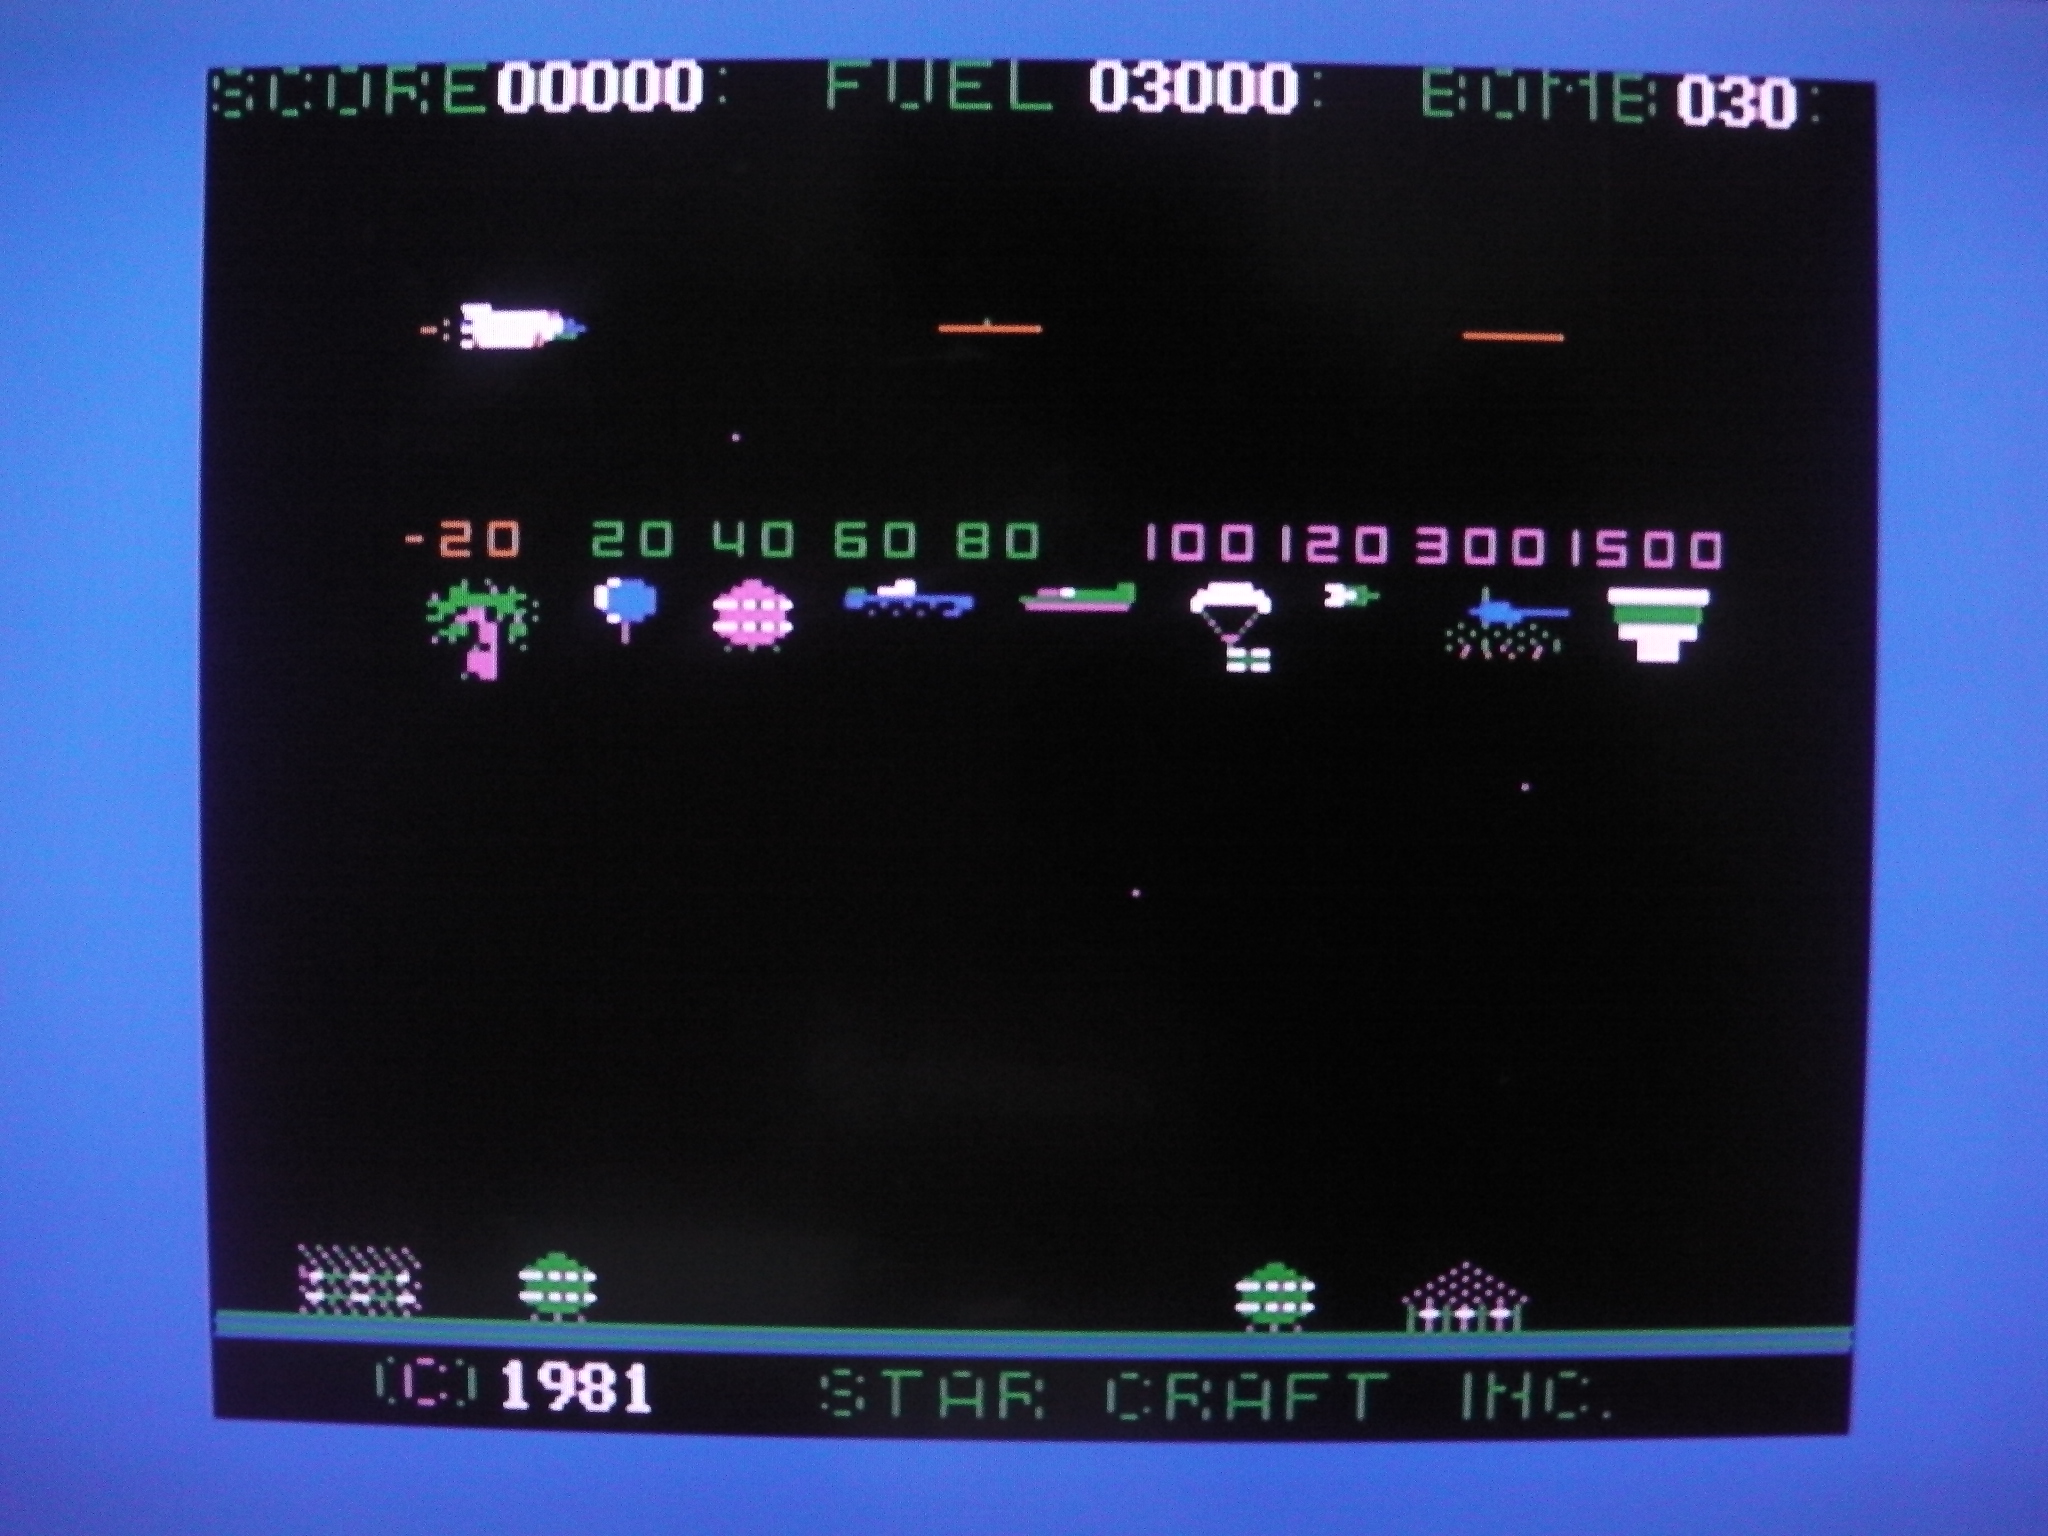
- Put .DSK/.DO images (143360 bytes) on the SD card. You'd better make each file name 8 characters or less. Make the total number of the .DSK/.DO images in a directory equal to or less than 180. You can also make directories (folders) and put images in a directory. Total nest level of the directories should be equal to or less than 5 including the root directory.
- Turn on the power of the Apple II while pushing the "down" button on the UNISDISK. This makes the mode of the UNISDISK as "DISK II mode".
- Select a .DSK/.DO image following the instruction below.
- A .NIC file is generated, and the .DSK/.DO image is converted to the .NIC file, and escape UI mode. A NIC file is an actual file the UNISDISK accesses while DISK II operation. Once a .NIC file has been generated for a .DSK file, you don't have to generate it again.
- If you use an Apple II GS (and maybe IIc / IIc plus), turn the power off, wait 10 seconds and turn the power on again.
You can convert a .DSK file to a .NIC file manually by a tool called nic2dsk here.
If you write data to an image on an Apple II, and you want to use the resulting image with an Apple II emulator on a PC, you have to write back the NIC file into the DSK/PO file. For this, push the "func" button while pushing "enter" button after the Apple II writes to the image.
SmartPort mode
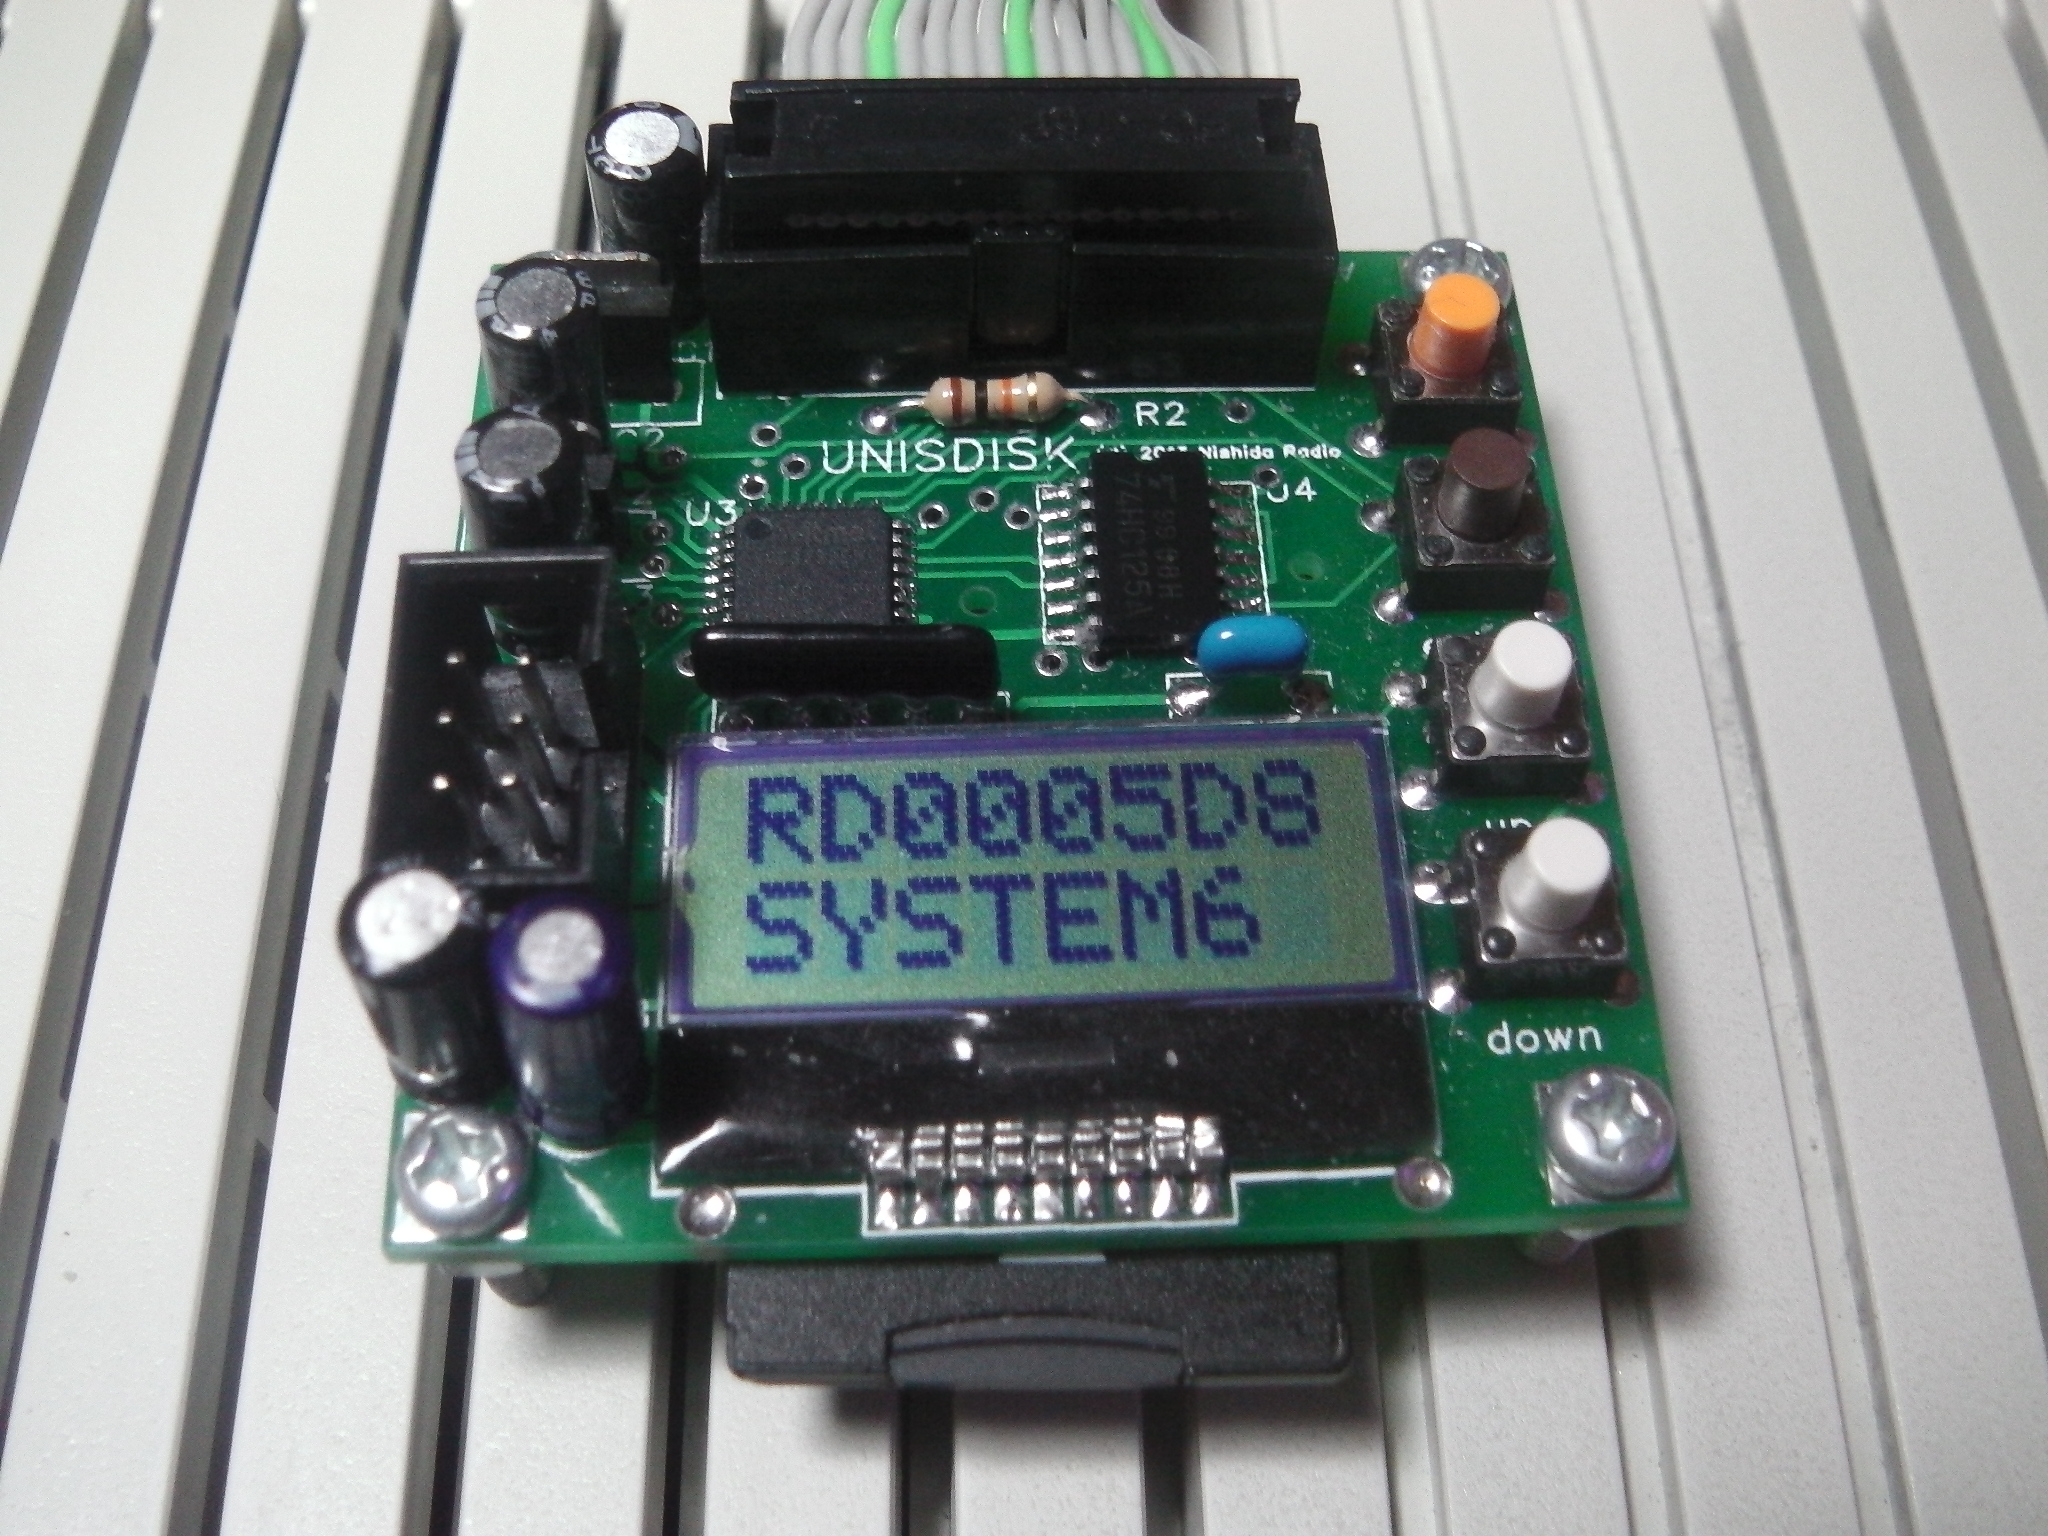
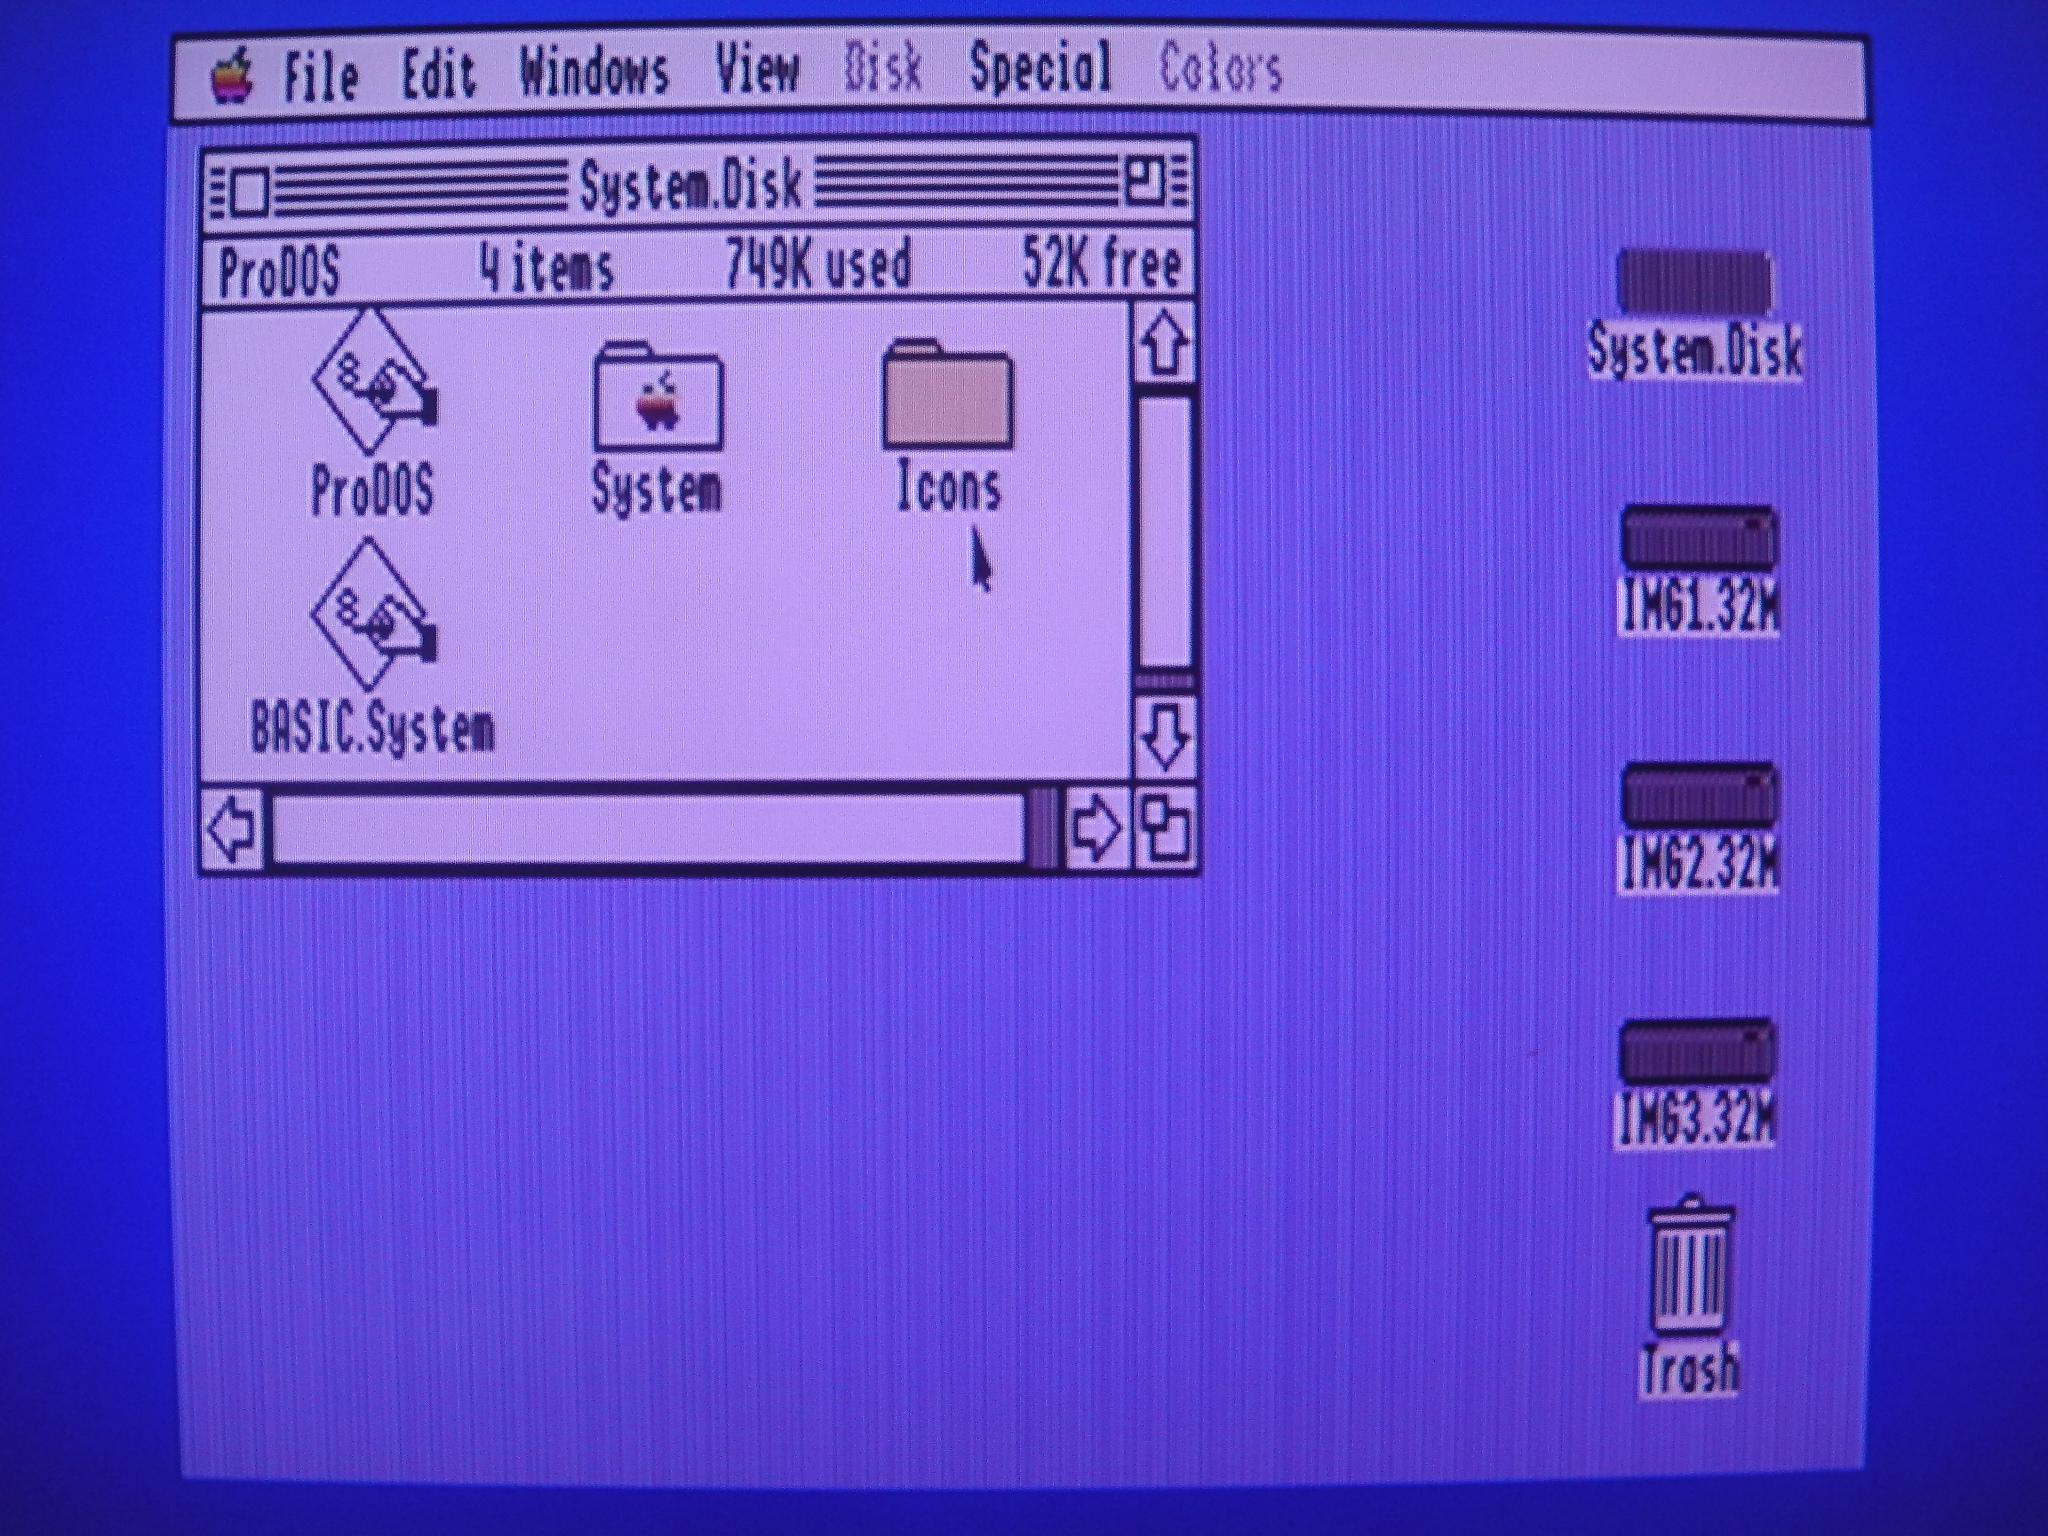
- Put .PO images (819200 bytes for a 3.5 inch floppy image) on the SD card. You'd better make each file name 8 characters or less. Make the total number of the .PO images in a directory equal to or less than 180. You can also make directories (folders) and put images in a directory. Total nest level of the directories should be equal to or less than 5 including the root directory.
- Turn on the power of the Apple II GS while pushing the "up" button on the UNISDISK. Turn on the power of the Apple IIc/c Plus while pushing the "up" button and the "enter" button on the UNISDISK. This makes the mode of the UNISDISK as "SmartPort mode".
- Select a .PO image following the instruction below.You can also use .2MG images that has a 64 byte header, but in that case the access speed of the SD card slows down.
- Turn the power off, wait 10 seconds and turn the power on again.
You can also use larger images created by CiderPress. I succeeded mounting 32MB images.
You cannot unmount an image when used with a IIc/Plus. You cannot eject the SD card, nor select images when Apple II DeskTop is running.
Selecting An Image
- Push the "func" button and get into UI mode to select a .DSK/.DO image (DISK II mode), or a .PO/.2MG image (SmartPort mode).
- A file name blinks in the LCD. Pushing the "down" button shortly shows the next candidate, and pushing the "up" button shortly returns the previous one. Pushing the "enter" button determines the image. Each file name you have selected for each drive is recorded in a file called UNISDISK.INI so that the file is selected automatically on the next power on. On the previous version of the firmware, only drive 1 is mounted at power on in SmartPort mode. But the current firmware mounts all drives. Make the allocation size of the SD card larger, and make mount period shorter.
- If you select UMOUNT, you can unmount the drive. When used with a GS, you can unmount drives when running. When used with a IIc Plus, you have to reboot the Apple IIc Plus to unmount drives.
- If you select a directory (folder), you get into the directory and you can select an image in the directory. By selecting "..", you get back to the parent directory.
-
When you select an image for drive 2 (DISK II mode) or drive 2-4 (SmartPort mode), a long push of the "up" button increases the drive number, and a long push of the "down" button decreases the drive number.
-
If you want to escape UI mode without selecting an image, push the "func" button again.
Notice
- The LCD is made of thin glass and fragile. Don't touch the LCD as much as possible.
- When plugging out the 20 pin connector, please use a flat head screwdriver, and don't pull the wires.
Of course you should turn off the power of the Apple II when you plug out.
- Don't remove the SD card while the Apple is reading from / writing to the SD card.
- Don't select the same image between the different drives.
Firmware
version 2014.12.19
version 2015.02.18
version 2015.04.20
version 2015.04.30
The license is GPL version 3.
See the Bootloader section below to update the firmware
This firmware archive also include another firmware source code of SDISK II.
The SmartPort part is based on a project by Robert Justice.
Bootloader
UNISDISK has a bootloader program on the bootloader area of the flash rom in the microcontroller. You can program the firmware yourself from an SD card without a writer. You can improve the firmware yourself and you can even make your own firmware.
To program the firmware, follow the instruction below.
- Put the firmware file called UNISDISK.HEX in the root directory of the SD card.
- Turn on the power of the Apple II while pushing the "func" button.
The hex file must be generated with Atmel Studio, and the addresses in the hex file should be continuous.
Pin Connection

|
|
DIK35 and HDSEL are for the future project.
|
DB19 Cable has resistors to adjust logic levels. Please use a DB19 cable when you use a UNISDISK with an Apple II which has a DB19 floppy connector. Don't use a 20 pin cable with a DB19 adapter for SDISK II
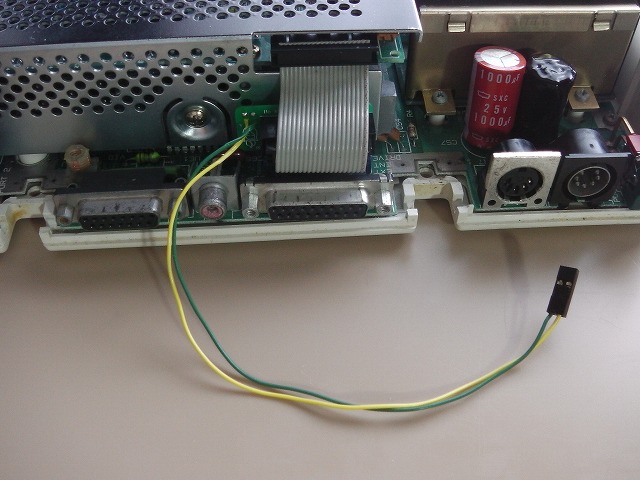
Connecting a UNISDISK with the internal floppy port of an Apple IIc (non Plus)
You have to open the cover of the Apple IIc. To see how to open the cover, see this page.
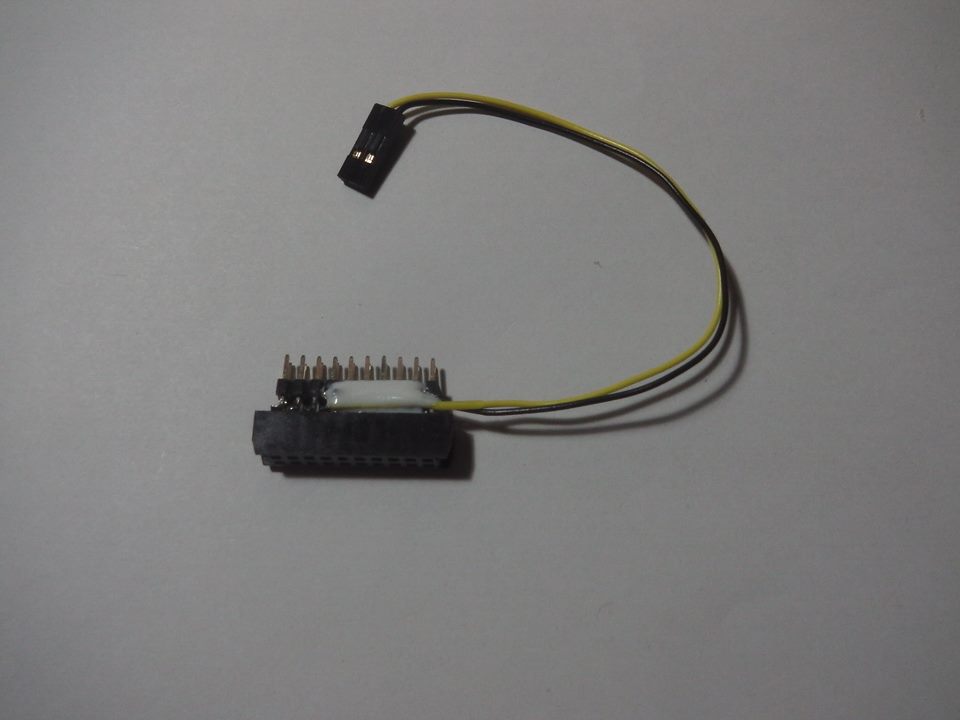
|
|
|
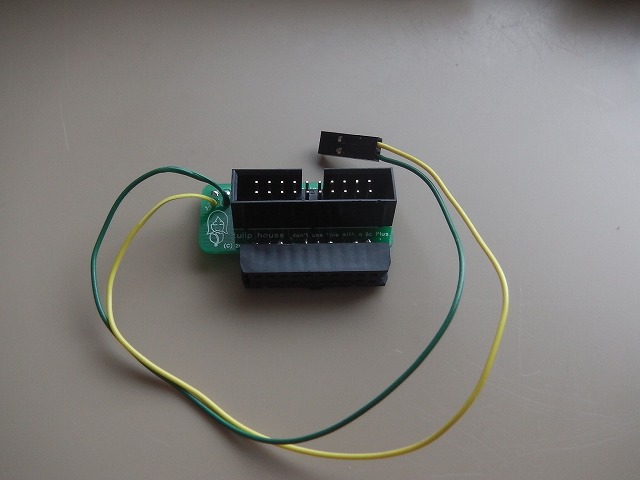
This is a IIc Internal Cable (up: old version, down: new version).
|
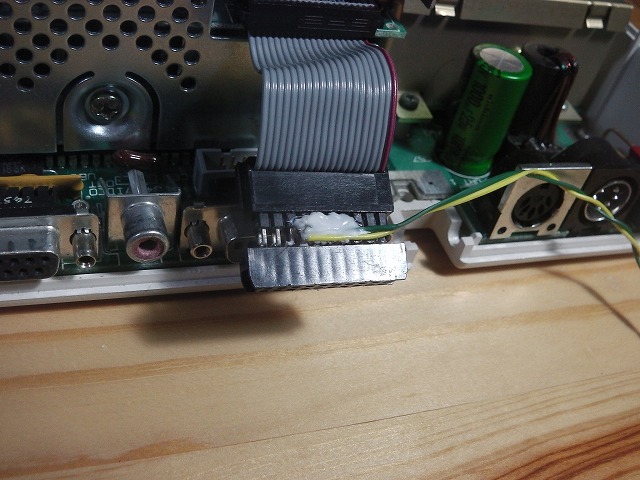
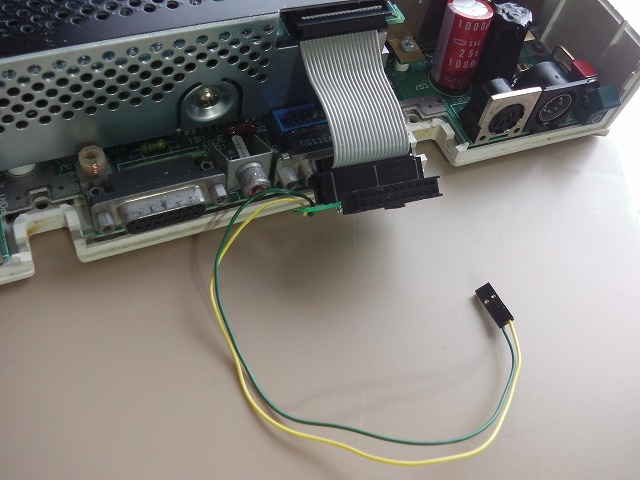
Unplug the floppy connector from the internal floppy port,
and connect it with the IIc Internal Cable.
|
|
|
|
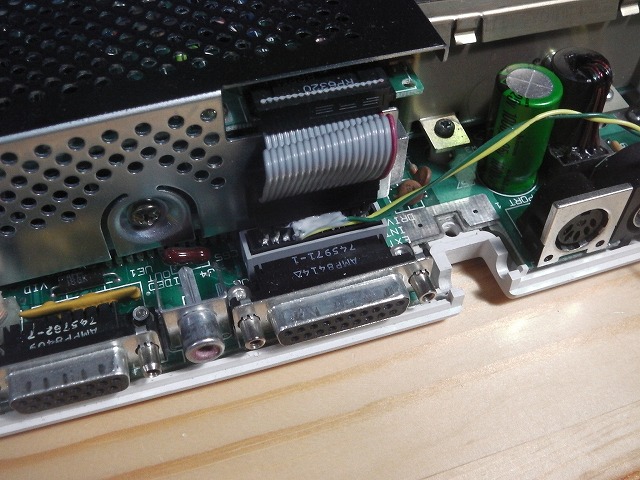
Plug the IIc Internal Cable in the internal floppy port.
|
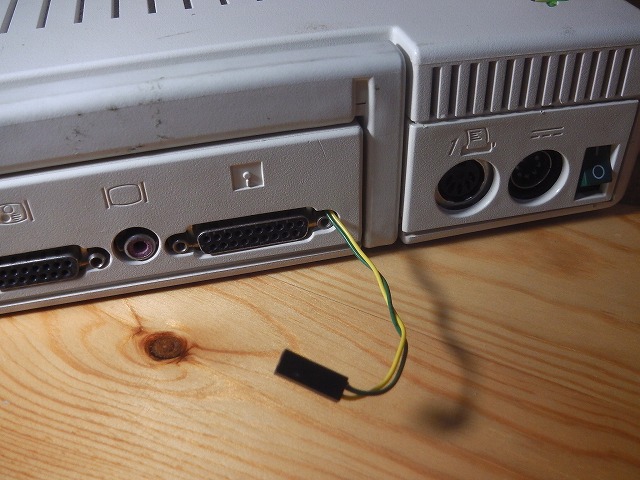
Let the 2 pin connector through a hole of the cover,
and close the cover.
|
|
|
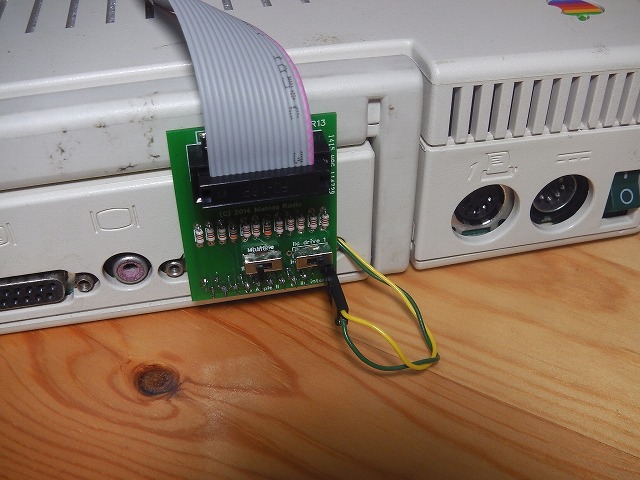
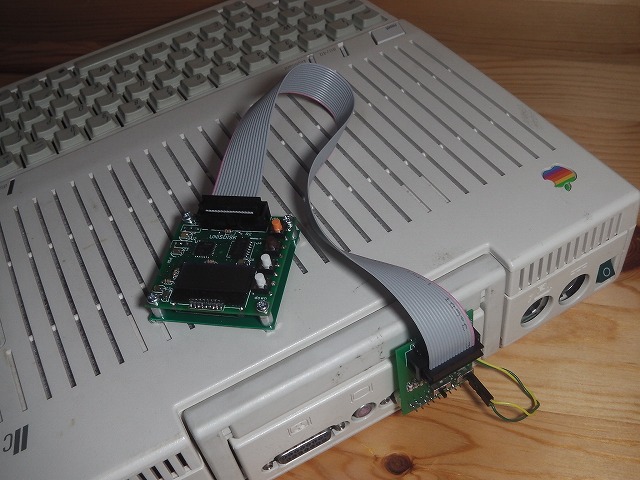
Plug the DB19 Cable in the external floppy port,
and connect the IIc Internal Cable with the DB19 Cable
so that the yellow (or red) line of the 2 pin connector is upper.
|
Connect the DB19 Cable with the UNISDISK.
|
-
Slide the left switch on the DB19 Cable toward the left.
-
The internal drive is selected as a drive 1 if you slide the right switch toward the left, otherwise the drive 2 of the UNISDISK is selected as the drive 1 of the Apple IIc.
When Something Is Wrong...
- Try to re-program the firmware. It's good idea to place UNISDISK.hex on the SD card so that you can program the firmware anytime.
- Polish the pins of the DB19 cable with sandpaper. Resin may remain on the pin surface.
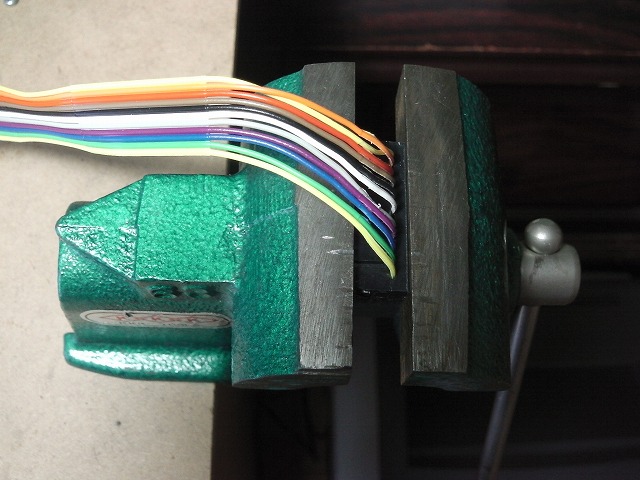
- Grip the 20/16 pin connector in a vise again.
Future Plan
I'm interested in creating an Apple 3.5 emulator.
Thanks
I thank to everyone in the Apple II community of the world.


